Shop by Color
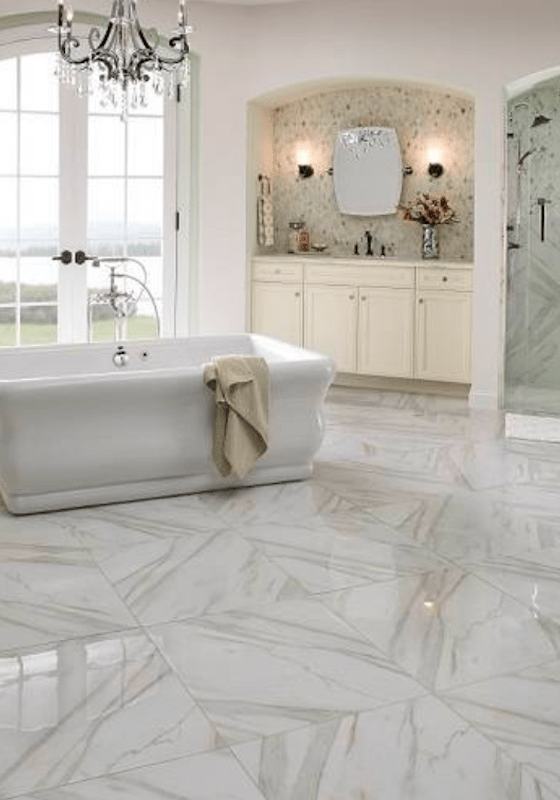
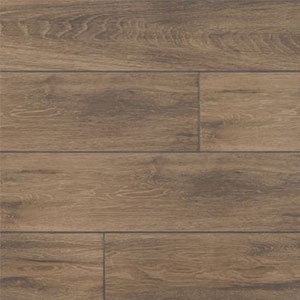
Porcelain tile is a type of ceramic fired in a high-temperature kiln. Its non-porous nature means that it doesn’t absorb liquids easily. The material is an excellent solution for areas that commonly deal with moisture or water, like bathrooms or kitchens.
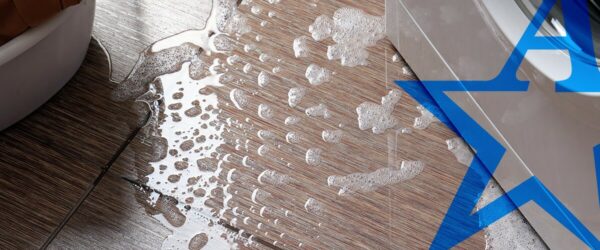
A properly installed porcelain tile floor is resistant to stains, warping, and even mold. Porcelain’s surface is so hard and smooth that it generally won’t collect dust and grime like other flooring options. This not only makes cleaning easy, but it also means fewer potential allergens in your home.
- Great Collection: With a variety of options and colors.
- Wear-Resistant: Superior flooring protection against scratches and dents.
- Longevity: Porcelain tile that can last for decades with proper care.
Shop by Brand
BENEFITS OF WORKING WITH US
Why Choose All-American Flooring

Free Design Consultation

TOP AMERICAN BRANDS

Top-Tier Installation

Unbeatable Prices

WARRANTY

ROOM VISUALIZER
See New Porcelain Tile in Your Space
Use Roomvo's cutting-edge technology to eliminate the guesswork commonly associated with purchasing new flooring. See a new hardwood in any room you want it in with just a few simple clicks. Shop more confidently with All American Flooring.
Financing at All
American Flooring
Schedule a flooring installation now and pay later with our unmatched financing options. We offer 0% financing for 12 or 36 months, so you can get the flooring you need when you need it!


Porcelain Tile FAQs
Porcelain Tile Flooring Installation
The traditional method of installing porcelain tile can be complex and messy, so professional installations are common. In summary, here is the tile installation process (step-by-step):
- Prepare and lay down an underlayment as a foundation for the floor tiles.
- Lay the tiles on the subfloor. Tile spacing is subject to personal preference, but following the manufacturer’s guidelines for proper grout line width is important.
- Cement tiles into position with a tile adhesive. Smooth the adhesive onto the back of each tile, using a notched trowel, and set in place before the excess adhesive begins to ooze from beneath the tile.
- Apply tile grout, filling the spaces between each of the tiles. Tile grouts come in sanded and unsanded varieties, so choose a sanded grout for areas that see a lot of foot traffic. It is recommended to wait at least 24 hours before walking on newly laid tiles to allow the full strength of the bond to take effect.
- Clean the tiles after installation. Remove excess grout from around the tiles with a sponge. Lightly scrub stubborn dirt off the tiles using a non-abrasive cleaner and a toothbrush or other small tool. Rinse thoroughly to remove any cleaning solution.
- After installation, protect tile surfaces by applying floor wax, oil soap, or other sealants as directed by the manufacturer’s instructions. This will help prevent stains and soil buildup on the tiles, making future cleanings easier.


